
Layer delicate jewellery stylishly: easy everyday stacking
Start with a fine short chain sitting at the collarbone, add a mid-length pendant or small charm necklace, then finish with a longer simple chain below. That three-step recipe is all you need to layer delicate jewellery stylishly, and two to three pieces is the sweet spot for keeping the look elegant rather than busy.
Quick-start checklist:
- Fasten the shortest chain first, directly against the skin
- Clip the pendant or mid-length piece next, checking it sits a small, visible distance below the first
- Add the longest chain last, letting it rest freely over both
- Lay each chain flat before fastening to prevent pre-wear twists
Pro Tip: Before you put anything on, lay all three pieces flat on a white surface. If they look good there, they will look good on you.
Table of Contents
- Why delicate layering reads as a considered styling choice
- The core rules that keep your stack polished and tangle-free
- How to combine chain types for interest without losing delicacy
- How to use pendants and charms without overpowering the stack
- Modern rules for mixing metals in a delicate stack
- How to match your stack to different necklines
- Anti-tangle hacks, fastening order, and care for delicate pieces
- Three example stacks for every occasion
- What to buy first: starter pieces and pre-layered sets
- Key takeaways
- Why building a stack slowly is the most stylish thing you can do
- Indy Love’s starter pieces make your first stack effortless
Why delicate layering reads as a considered styling choice
The reason a well-built stack looks polished rather than cluttered comes down to visual lines. Each piece needs its own horizontal space so the eye reads the whole arrangement as one designed look, not a tangle of chains. When layers sit too close together, the brain registers noise. When they are spaced, it registers intention.

Proportion matters just as much as spacing. A single focal point, whether a small pendant, a tiny charm, or a textured chain, gives the eye somewhere to land. Everything else in the stack plays a supporting role. Negative space, the bare skin between layers, is part of the design.
Pro Tip: If you put on a stack and something feels off, remove one piece before adding another. Editing is always the answer.
The core rules that keep your stack polished and tangle-free
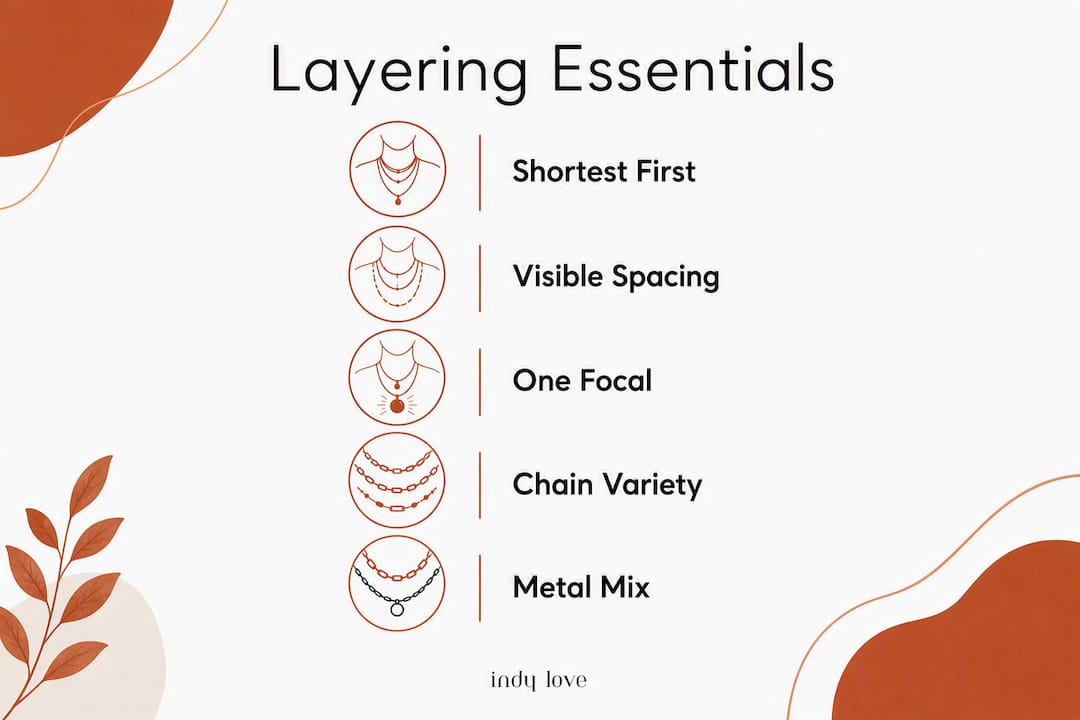
Three principles underpin every great delicate stack. Follow them and the rest is creative play.
1. Shortest to longest, lightest to heaviest
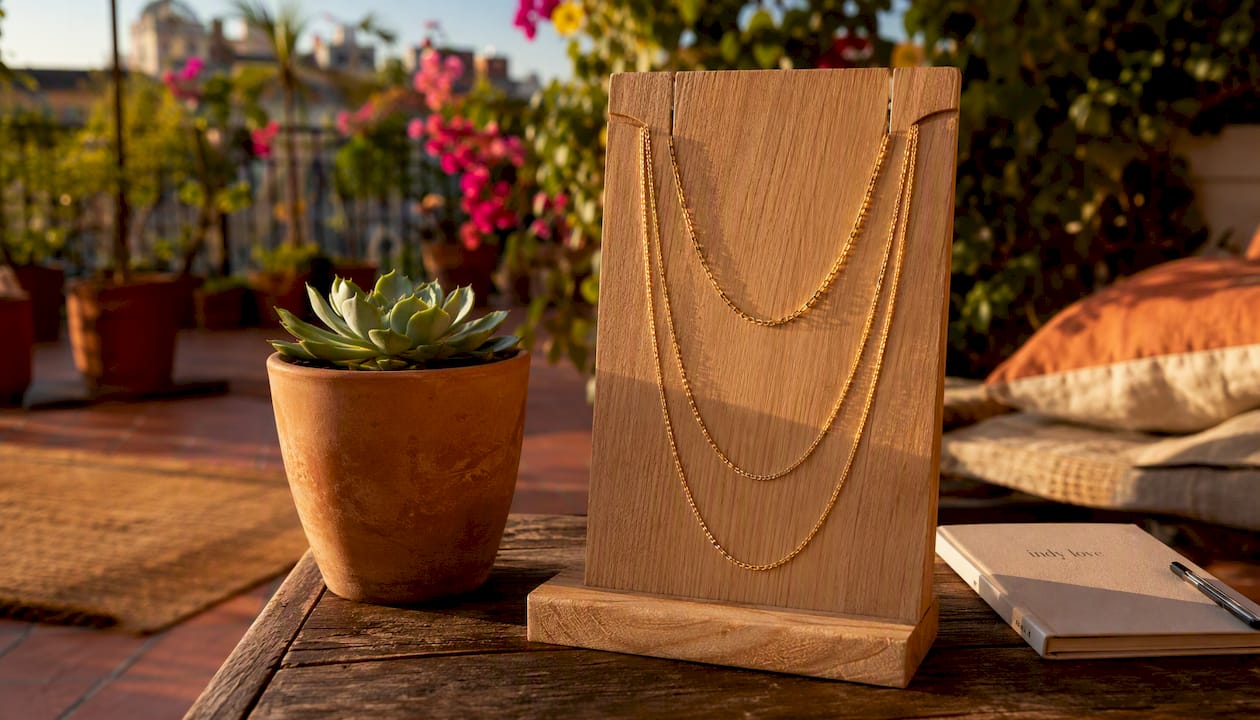
The shortest, most delicate chain sits closest to the collarbone and acts as the anchor. Heavier or more substantial pieces lower in the stack provide downward weight that keeps the whole arrangement from bunching. This is the anchor principle, and it is the single most important rule in layering.
2. Visible spacing between every layer
Aim for visible separation between each necklace at the front of the neckline. That gap is what allows each piece to read as its own line rather than blending into the one above or below it. If two chains keep meeting in the middle, the lengths are too similar.
3. One focal point only
One piece in the stack should carry the most visual weight, whether through a pendant, a slightly chunkier chain, or a textured link. Every other piece should be quieter. Two focal points compete; one focal point leads.
Spacing note: Styling guides consistently recommend a visible separation between layers for a clean, readable stack.
Pro Tip: A layering clasp manages movement but does not fix optical spacing. Plan your lengths first, then add a clasp if you want extra security.
How to combine chain types for interest without losing delicacy
Mixing chain styles is one of the easiest ways to add visual richness to a stack. Different textures create natural separation, which also reduces tangling. Varying chain styles, such as cable, paperclip, snake, and satellite, helps chains slide past each other rather than lock together.
Three example stacks:
- Everyday minimal: Fine cable chain (40 cm) + dainty satellite chain with a small pendant (50 cm) + flat snake chain (60 cm)
- Textured and modern: Thin box chain (38 cm) + paperclip chain with a tiny charm (48 cm) + fine rope chain (58 cm)
- Soft and feminine: Delicate cable chain (42 cm) + pearl or bead-accented chain (52 cm) + long fine chain (65 cm)
Do’s and don’ts for chain pairing:
- Do mix at least two different chain shapes in a stack
- Do keep gauge (wire thickness) similar across pieces so no single chain dominates
- Don’t pair two paperclip chains at adjacent lengths — they will catch on each other
- Don’t mix very shiny and very matte finishes in the same stack unless one is a deliberate accent
- Do let the longest chain be the simplest — it frames the whole look
| Chain type | Best position in stack | Why it works |
|---|---|---|
| Fine cable | Shortest (collarbone) | Sits flat, acts as a clean base |
| Paperclip or satellite | Middle layer | Adds texture without bulk |
| Flat snake or rope | Longest layer | Smooth surface prevents snagging |
How to use pendants and charms without overpowering the stack
A pendant placed on the middle or longest layer gives the eye a natural landing point. That placement also keeps the pendant from sitting too high and competing with your face. For delicate stacks, the pendant itself should stay small: a coin, a tiny geometric shape, or a single stone no larger than your thumbnail.
When a stack already has one pendant, the other chains should be plain. Adding a second pendant, even a small one, splits the focal point and makes the whole arrangement feel unresolved.
Pendant placement rules:
- Place the focal pendant on the mid-length or longest chain, never the shortest
- Keep pendant diameter under roughly 1.5 cm for a truly delicate feel
- If you want to add a third piece, make it a chain-only style with no pendant at all
- Avoid pendants with sharp edges on fine cable chains — they catch and twist
- One meaningful charm reads as personal; three charms read as busy
Modern rules for mixing metals in a delicate stack
Mixing metals is not just acceptable in 2026 — it is one of the strongest signals of a considered, fashionable delicate accessories approach. The practical rule is simple: commit to the mix and repeat each metal at least once. A stack with one gold piece and one silver piece looks accidental. A stack with two gold pieces and one silver piece looks deliberate.
Mixing metals works when pieces are bright and high-quality. Tarnish is the real cause of clash, not the combination of metals itself. Polished, well-maintained pieces in different tones sit beautifully together. Dull or heavily worn pieces in the same metal can look worse than a confident mixed-metal stack.
Pro Tip: A single mixed-metal piece, such as a chain with both gold and silver links, ties a mixed stack together instantly and makes the combination look planned.
Quick mixing guide:
- Gold + rose gold: the softest, most tonal combination — works for everyday and occasion wear
- Gold + silver: the most modern pairing — keep finishes bright and gauges similar
- All three metals: limit to very fine, delicate pieces and keep the stack to two or three chains maximum
- Avoid mixing plated and solid pieces at the same layer — the finish difference shows up in photos
How to match your stack to different necklines
The neckline you are wearing determines how many layers work and where they should sit. A popular three-tier stack uses a collar or princess length, a matinee length, and a longer chain below. That combination suits most necklines, but the specifics shift depending on the cut.
| Neckline | Recommended lengths | Stack type |
|---|---|---|
| V-neck | 40 cm + 55–60 cm | Two layers following the V line |
| Scoop neck | 38–42 cm + 50–55 cm + 65 cm | Three layers, shortest fills the scoop |
| Crew neck | 50 cm + 60–65 cm | Two longer layers sitting below the collar |
| Boat / off-shoulder | 38–42 cm (choker style) | One or two short layers only |
| Button-down (open collar) | 42–48 cm + 55–60 cm | Two layers visible in the open collar |
For busy prints or heavily embellished necklines, scale back to one or two plain chains and skip the pendant entirely. The outfit is already doing the work.
Anti-tangle hacks, fastening order, and care for delicate pieces
Getting the fastening order right takes thirty seconds and saves five minutes of untangling.
Step-by-step fastening method:
- Lay all chains flat on a surface and check for any existing knots before putting them on
- Fasten the longest chain first, letting it hang freely
- Fasten the middle-length piece next, checking it sits above the longest
- Fasten the shortest chain last, closest to the collarbone
- Gently separate any chains that have crossed before you leave the house
Useful tools and accessories:
- A layering clasp or detangler bar holds multiple chains at one point and reduces movement
- Individual zip-lock pouches or a jewellery roll keep pieces separate in your bag
- Thread fine chains through a drinking straw when travelling to prevent kinking
Basic care checklist:
- Store chains vertically on individual hooks rather than in a pile — vertical storage is the single biggest preventable cause of tangles
- Remove jewellery before swimming, showering, or applying heavy perfume
- For gold-plated pieces, wipe with a soft dry cloth after each wear to extend the finish
- Solid gold and sterling silver can be cleaned with warm water and a soft toothbrush
Three example stacks for every occasion
Everyday refined
A two-piece stack: a fine gold cable chain at 40 cm paired with a dainty satellite chain carrying a tiny coin pendant at 50 cm. Both pieces are lightweight, the look is quiet and elevated, and it works under a crew neck or open-collar shirt without any adjustment. Pair with subtle gold plated earrings to keep the whole look cohesive.
Work-appropriate
Limit the stack to two pieces and choose a chain-only base with one very small pendant on the second layer. Nothing that catches light dramatically or moves noticeably. A fine box chain at 42 cm and a plain snake chain at 55 cm reads polished in a meeting and barely registers on a video call. For earrings, the Le Roux Pearl Earrings add refinement without competing with the necklace stack.
Party or statement
Keep the base layers delicate, then add one piece with slightly more presence: a textured paperclip chain, a chain with a small stone pendant, or a piece in a contrasting metal. Three layers maximum. The Kimberley Drop Jewel Earring pairs beautifully here, adding sparkle at the ear without requiring a heavier necklace stack.
What to buy first: starter pieces and pre-layered sets
The most flexible starting point is to choose three individual pieces rather than a pre-layered set.
Recommended starter pieces with lengths:
- A fine cable or box chain, 38–42 cm, in your preferred metal (this is your base)
- A mid-length chain with a small pendant or charm, 48–52 cm
- A longer plain chain, 60–65 cm, in a different chain style to the base
Pre-layered or multi-strand sets are useful when you want a foolproof look with no effort. The trade-off is flexibility: a set is designed to work together and rarely mixes well with other pieces. Individual pieces let you build stacks over time with meaningful additions rather than buying everything at once.
Materials checklist for everyday wear:
- Solid sterling silver or solid 9–18K gold for pieces worn daily
- 18K gold plating over brass or sterling for occasional wear (the Clover Embellished 18K Gold Plated Necklace from Indy Love is a strong mid-layer option)
- Avoid thin gold-fill or low-karat plating on pieces that will be layered and moved frequently
Key takeaways
The most reliable way to layer delicate jewellery stylishly is to follow three rules: shortest piece at the top, 2–3 cm of visible spacing between layers, and one focal point only.
| Point | Details |
|---|---|
| Shortest to longest | Always fasten the shortest, most delicate chain first; heavier pieces sit lower to anchor the stack. |
| Visible spacing | Keep 2–3 cm of separation between each layer so every piece reads as its own line. |
| One focal point | Choose one pendant or textured chain as the star; keep all other pieces plain and quiet. |
| Storage prevents tangles | Hang chains vertically on individual hooks rather than storing them together in a pile. |
| Indy Love starter pieces | The Clover Embellished 18K Gold Plated Necklace and curated accessories from Indy Love are ready-to-layer options for building your first stack. |
Why building a stack slowly is the most stylish thing you can do
The conventional advice on jewellery layering tends to focus on rules: lengths, metals, chain types. Those rules matter, but they miss the more interesting point. A stack that has been built over months, with pieces added one at a time as they earn their place, reads completely differently from one assembled in a single shopping session. You can see it. There is a quality of intention in a slow-built stack that no amount of perfectly matched lengths can replicate.
Australian styling guides consistently favour a curated single design decision over accumulative layering, and that instinct is right. Simpler stacks with delicate pieces often read more luxurious than dense ones. The temptation when you first discover layering is to add more. The skill, and it does take a moment to learn, is knowing when to stop.
Indy Love’s approach to curated accessories reflects exactly this. The pieces are chosen to work as individual staples and as layers, which means you are not buying a set and hoping it holds together. You are buying pieces that earn their place.
Indy Love’s starter pieces make your first stack effortless
Ready to start building? Indy Love’s curated jewellery collection gives you the delicate, high-quality basics that every great stack begins with, at prices that make it easy to build gradually rather than all at once.
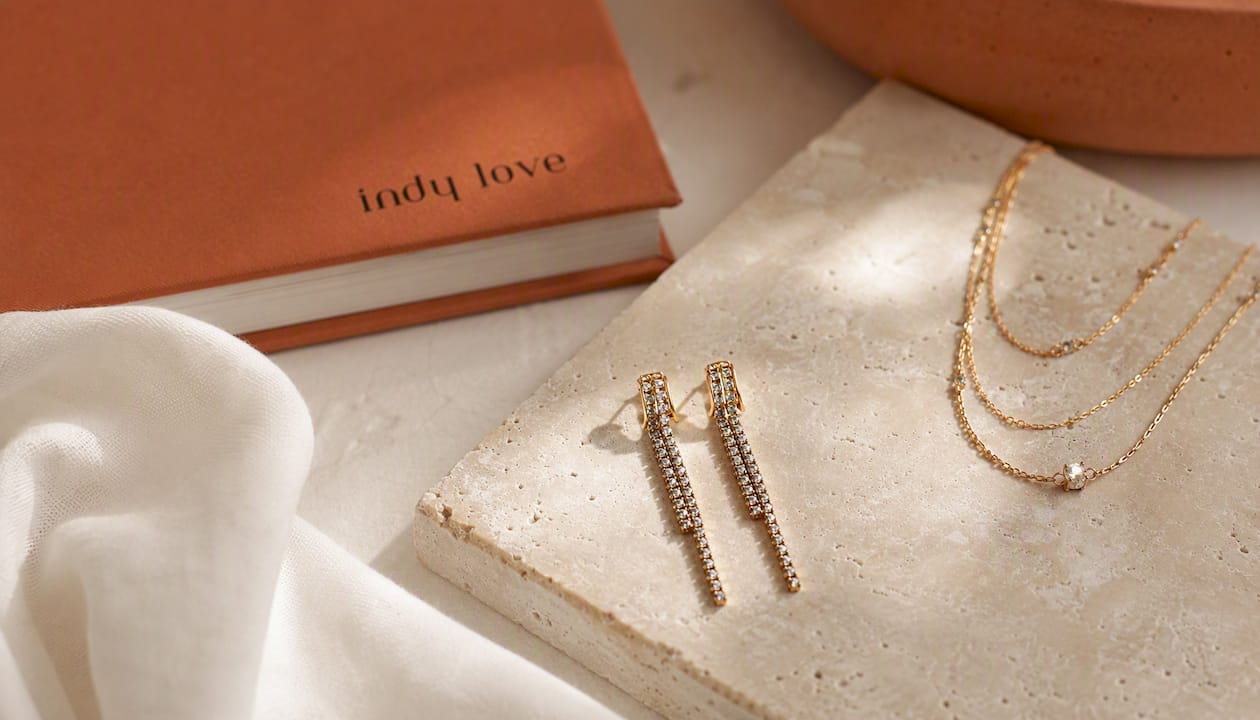
The Kimberley Drop Jewel Earring adds the perfect finishing touch alongside a two or three-piece necklace stack, while the Clover Embellished 18K Gold Plated Necklace is a chic mid-layer focal piece that works across every occasion. Free shipping on orders over $150 across Australia means you can pick up two or three starter pieces in one go without the extra cost. Browse the full accessories range at Indy Love and start your stack today.